
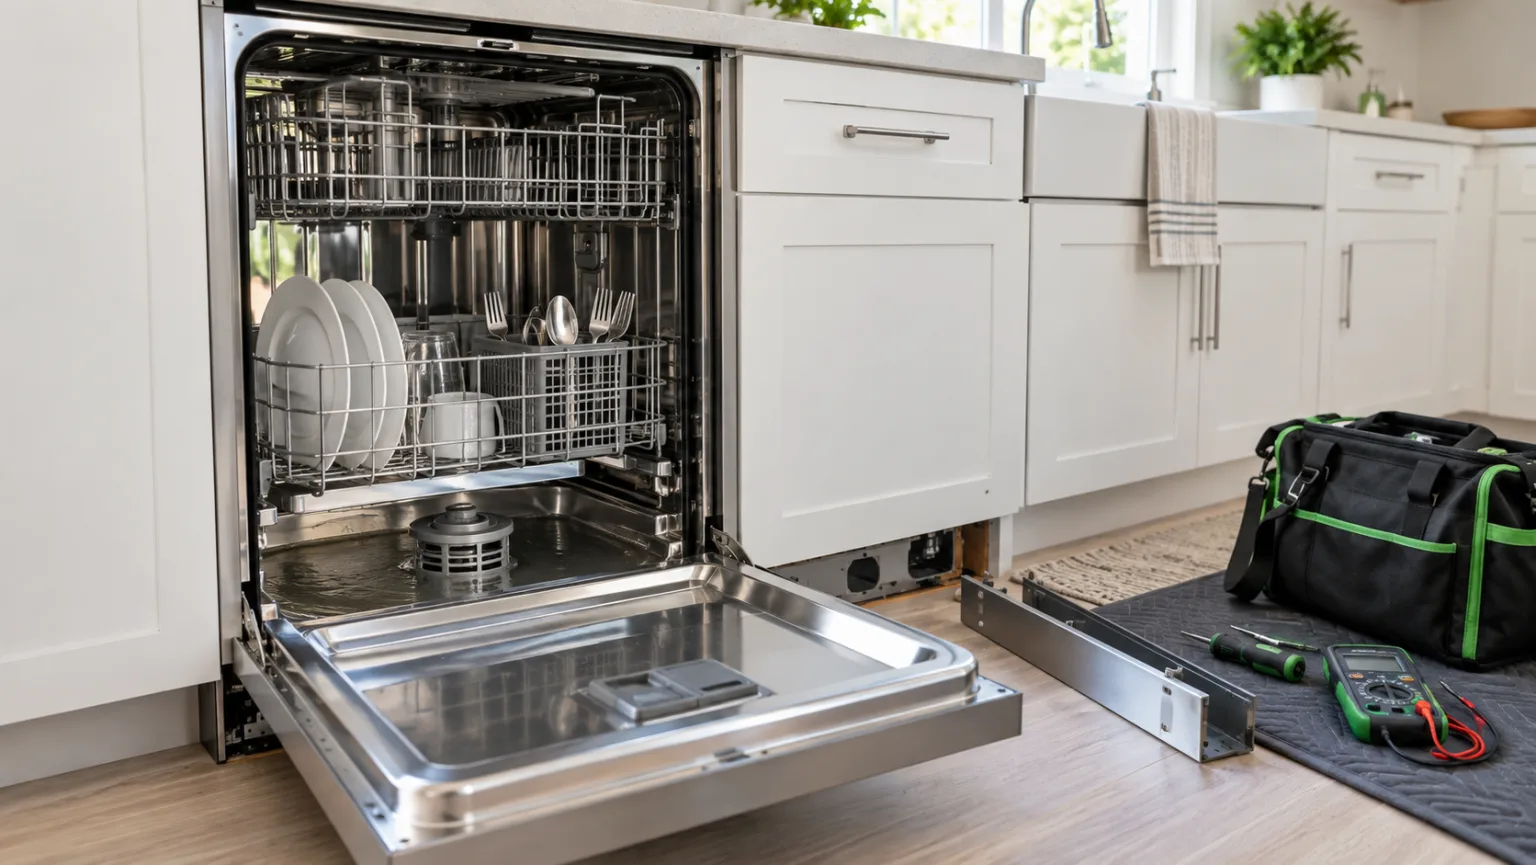
1. Was a new garbage disposal installed recently?
This is my first question when draining stopped after work under the kitchen sink. A disposal has an inlet for the dishwasher drain connection, and that inlet may arrive closed by a factory plug. The installer can attach the hose perfectly and still forget to remove the plug inside. Everything looks connected, but the dishwasher is pumping toward a closed opening.
There are two arrangements you may see. The dishwasher hose can run to an air gap beside the faucet, with a second hose leading from the air gap to the disposal. Alternatively, it can connect to the disposal through a drain hose routed as the dishwasher instructions and local plumbing requirements specify. An air gap and a high loop are not interchangeable wherever an air gap is required.
In either arrangement, an unopened disposal inlet can block the final route into the drain. The fact that the sink empties normally does not prove this small dishwasher connection is open. The sink uses a different opening.
If the timing matches a disposal replacement, ask the installer to verify the dishwasher inlet plug before buying an appliance part. A hands-on check requires isolating power to both appliances and following the disposal's installation instructions; disconnecting a hose can release retained water. If that is outside your comfort level, leave it connected. You have already found a useful lead simply by remembering when the problem began. InSinkErator specifically includes opening this inlet in its replacement-disposal instructions.
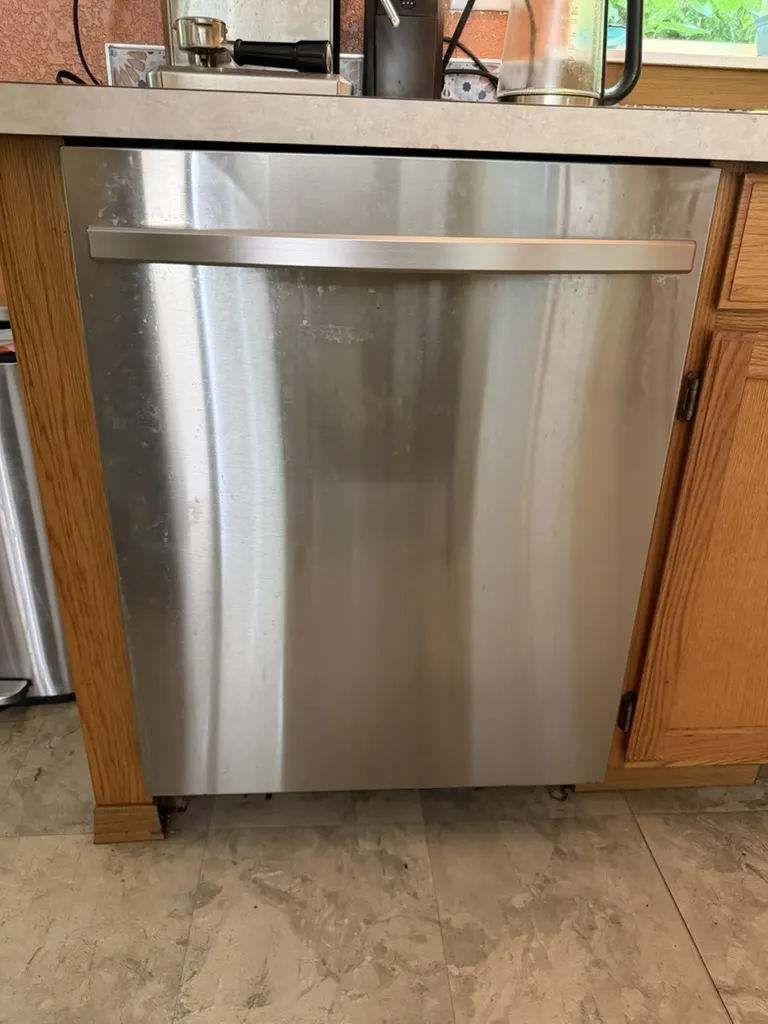
2. Give the bottom filter a proper cleaning
The next place I look is the filter at the bottom of the dishwasher. A filter can look reasonably clean from above while its fine mesh is coated with grease and food residue. Water needs to pass through the intended filter and sump passages; rinsing off a few large crumbs may not remove the film that is causing trouble.
With power disconnected, remove the lower rack and take out the user-removable filter as your owner's manual describes. Some filters twist to unlock, while other designs are different. Do not force a screen or unscrew a pump cover because it resembles a filter you have seen on another machine.
Rinse the filter under running water. Where the manufacturer permits it, use a soft brush to work gently over the mesh and its seams. A short wash in warm, mildly soapy water can help remove grease if the filter instructions allow it. Do this at the sink, then rinse thoroughly: dish soap left in the dishwasher can create excessive foam. Avoid wire brushes, abrasive pads, and scrubbing that stretches or tears the mesh.
Hold the rinsed filter toward a light and look for remaining deposits. The idea is to see whether the openings are clear, not to make every filter material look transparent. Check the frame for damage, seat the filter correctly, and lock it as instructed. Once everything is back in place, restore power and try the model's drain command. Whirlpool's filter-cleaning guidance is a useful example, but your particular filter's instructions take priority.
3. Look for a hose squeezed under the sink
Sometimes the cause is a bucket, a basin, or a container of cleaning supplies. Someone puts it under the sink, pushes it back, and folds the dishwasher hose into a tight bend. The dishwasher may have worked for years before that one change.
Follow the visible hose with your eyes. Look for a sharp kink, a flattened section, or a place where the hose is trapped against the cabinet. Move the stored object away without pulling on the hose or its connection. A hose that has split, developed a permanent crease, or become brittle needs assessment rather than repeated bending.
Keep the specified routing intact. Do not lower a secured high loop just to make the hose look straighter, and do not remove an air gap. Those installation details help keep sink wastewater from returning to the dishwasher. Hidden sections behind the appliance can also kink, especially after installation, but checking them belongs with someone equipped to handle the mounting, water connection, and electrical supply safely.
4. Try the correct manual drain once
Water left in the tub does not necessarily mean the dishwasher reached the end of its cycle and failed to drain. It may have stopped during washing. An interrupted cycle, a door-latch issue, or another fault can leave the machine full at a point when it would normally still contain water.
Look for Cancel, Cancel/Drain, Start/Reset, or a hold instruction on the control panel. On many models, a longer press starts cancellation and draining; others use a different button sequence. The panel may show the instruction, but it does not always. Use the owner's manual for the exact button, hold time, and required door position. Random combinations can change settings or enter a diagnostic mode.
Run the prescribed drain once and listen. Does the water level fall? Is there a steady drain sound, silence, a strained hum, or grinding? If the pump hums or grinds without moving water, stop repeated attempts. Another reset will not remove an object physically jamming the impeller.
If manual draining empties the tub but a normal cycle repeatedly leaves water behind, tell the technician that distinction. It shifts attention toward what interrupts the cycle: control inputs, a latch, a sensor, the user interface, or the control board may be involved. However, a partial blockage or a pump that fails intermittently can also drain successfully on one attempt. Manual draining is a useful observation, not proof that every drain component is healthy.
When the easy checks do not solve it
At this point, you have checked the recent installation history, the removable filter, the visible hose, and the normal drain command. That is a sensible stopping point for most homeowners. The next checks follow the complete water path and involve parts that may be under the dishwasher or behind covers.
Also notice what happens at the sink. A slow sink drain, a backing-up disposal, or water coming out of the countertop air gap can point toward a plumbing restriction. Cleaning an accessible air-gap cap according to its instructions may help, but an internal blockage in its outlet hose is a different job. Do not pour chemical drain cleaner into the dishwasher.
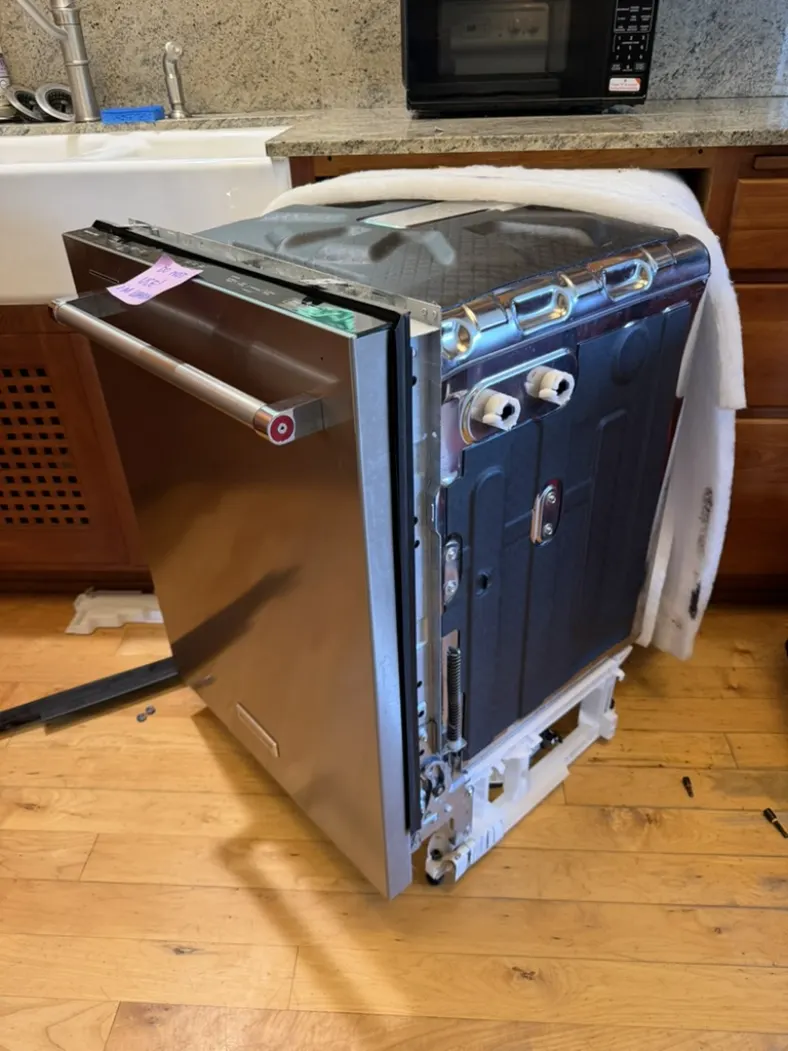
A blocked hose can be hidden between connections
A hose does not have to be visibly bent to be blocked. Grease, food debris, and small objects can collect inside it, particularly where the drain path changes diameter or includes several connections. The restriction may be near the pump, at an extension coupling, in a check valve, or in the larger hose between an air gap and the disposal.
This is why checking only the short section visible under the sink may miss the problem. A technician traces the route from the pump to the household drain and checks each relevant section. Extra hose length and improvised extensions also deserve attention: they must meet the manufacturer's requirements, not just fit the connectors.
If the dishwasher empties and dirty water later returns, the question changes again. Backflow through the drain path, incorrect routing, or a check-valve problem may be involved. If clean water accumulates while the appliance is off, a leaking inlet valve is another possibility. Replacing a drain pump will not correct those causes simply because water is present in the tub.
A cherry pit or an old piece of glass can stop the pump
One small object can make a working pump behave like a failed one. A cherry pit, a hard food fragment, or a piece of broken glass can lodge where the impeller needs to turn. The motor may hum, attempt to start, or stop under protection without moving useful amounts of water.
The broken glass does not have to come from yesterday's load. A fragment from a glass broken many months earlier can remain hidden and eventually move into the pump area. Customers sometimes rule glass out because nothing broke recently, but that history does not eliminate the possibility.
In some cases, removing the obstruction is enough. In others, the impeller or motor has already been damaged and the pump needs replacement. Access varies substantially. A few manufacturers describe a user-accessible pump-cover procedure for particular models; that does not make reaching into every dishwasher's sump a homeowner task. Glass, confined access, and uncertain pump construction are good reasons to leave this inspection to a technician.
Do not keep commanding drain to “push it through.” A stalled pump can overheat. Depending on the design and fault, electrical damage can also involve a connector, wiring, or the board's pump-driving circuit. Some pumps or controls have thermal or electronic protection that stops an overloaded motor. Protection can limit damage, but its presence and behavior must be confirmed for the model; it is not a guarantee that repeated attempts are harmless.
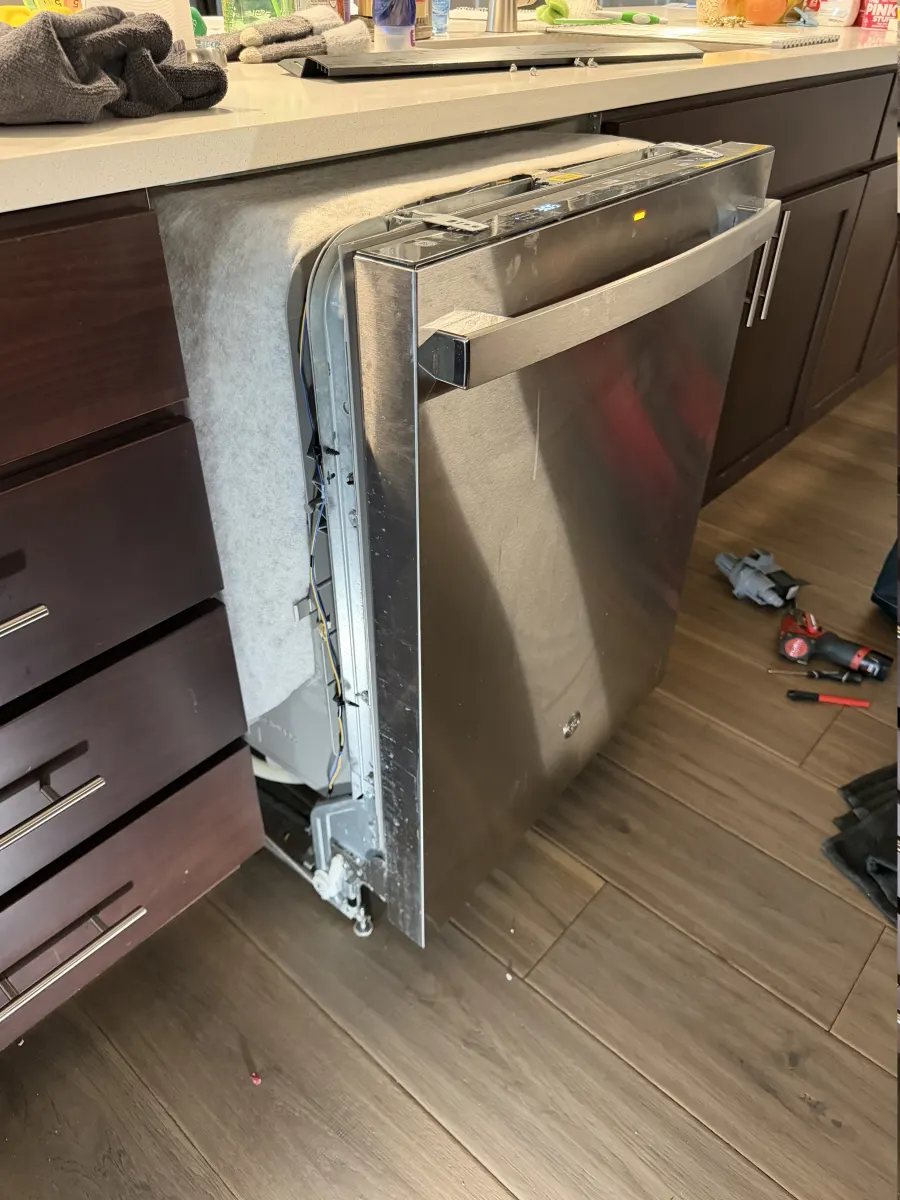
The pump itself may have failed
Once the drain route is clear and the impeller is not obstructed, the pump becomes a stronger suspect. A damaged impeller, worn motor, or electrical fault can prevent it from moving water properly. A pump may also work when cold and become unreliable later in a cycle.
The diagnosis needs more than its sound. A quiet pump might have failed, or it might not be receiving the command or electrical supply it needs. A humming pump may be jammed. A running pump can still move little water because of a damaged impeller or restriction. A technician checks the model-specific command, electrical supply, connections, and actual discharge before recommending a part.
Many dishwashers use separate circulation and drain pumps. Some other, particularly older, designs use a shared motor-and-pump arrangement with a mechanism that directs water for washing or draining. Trouble in a shared assembly can affect both cleaning and draining, although a drain-specific valve fault may leave washing less affected. Poor washing and standing water together are clues to investigate, not proof that the appliance has one combined pump.
What I watch for on GE, Whirlpool, Maytag, KitchenAid, and Frigidaire
In my service experience, drain-pump problems are recurring findings on Whirlpool, Maytag, KitchenAid, Frigidaire, and GE dishwashers. That is a description of the machines I encounter, not a claim that every model from those brands has the same weak point or that a pump should be ordered without testing.
On GE models, I also pay attention to the water-level or pressure-sensing system. A machine has to interpret how much water is present; an incorrect signal can interfere with cycle decisions or produce a fault that accompanies a drainage complaint. The sensor, its sensing passage, its connections, and the pump may need separate checks. GE lists an invalid pressure-sensor signal among its model-dependent fault-code explanations. A sensor-related code is not evidence that all GE drainage problems need a sensor.
Brand knowledge helps choose what to examine closely. The full model number and service information still decide which components the dishwasher actually uses and how they should be tested.
Where the control board and error codes fit
A control-board fault can prevent draining, but it should not be the first expensive guess. A loose connection, damaged wire, invalid sensor input, interrupted cycle, or failed pump can produce a similar complaint. Even when no power reaches the pump, the technician must determine whether the board should be commanding it at that moment.
Some models store fault history that can be read in a service mode. Those records may help distinguish a drain timeout, a water-level problem, or an electrical fault. The entry sequence and code meanings are model-specific, and service modes can activate components. Do not experiment with an online button sequence for a different model.
An error code points to a condition the control detected, not necessarily the part that caused it. A drain timeout can result from a plugged disposal connection just as it can from a pump problem. If a code is already visible, remembering it or taking a photo is useful, but there is no need to obtain a code before asking for help.
Replacing a pump: the small details that can cause a large leak
If you are considering replacing the pump yourself, understand the attachment and sealing arrangement before ordering or removing anything. This is work around electricity, retained water, sharp edges, and a built-in appliance. Professional service is the safer choice when access or the procedure is unfamiliar.
Some pumps use a locking tab and a twist fitting; others use screws, clamps, or a different mounting arrangement. On certain designs, releasing the latch and rotating the pump counterclockwise unlocks it. That direction is not a universal instruction. Follow the procedure for the exact model, and stop if the pump resists instead of applying more force.
Be especially careful around the connection between the sump and pump. In my experience, some GE designs have a thin, easily damaged rubber connector in this area; Whirlpool designs also require care around their seals and connections. Pulling or twisting the pump against an attached hose can tear rubber or crack an aging fitting. A successful pump replacement can then turn into a substantial leak on the next fill.
Check what seals the new part actually includes. Some twist-fit pumps use an O-ring, while other assemblies seal differently. Keep the removed pump and its seal until you have compared them with the correct replacement. That does not mean an old, flattened, cut, or swollen seal should be reused; obtain the specified replacement when needed. Do not install two seals because a new one was already fitted and the old one remained in the housing.
The seal must sit in its proper groove without rolling, pinching, or being pushed out as the pump seats. Do not automatically coat it with petroleum jelly. Seal materials differ: use only the lubricant, if any, approved by the appliance or replacement-part instructions. Some procedures call for a compatible lubricant; others do not. More lubricant cannot compensate for the wrong seal or a damaged seating surface.
After reassembly, the repair needs a controlled leak check during filling, washing, and draining, following the service procedure with electrical protections in place. A dry-looking connection before the dishwasher runs is not enough. Confirm the pump is secured and the hose connections are sound before considering the job finished.
A leak detector is worthwhile protection
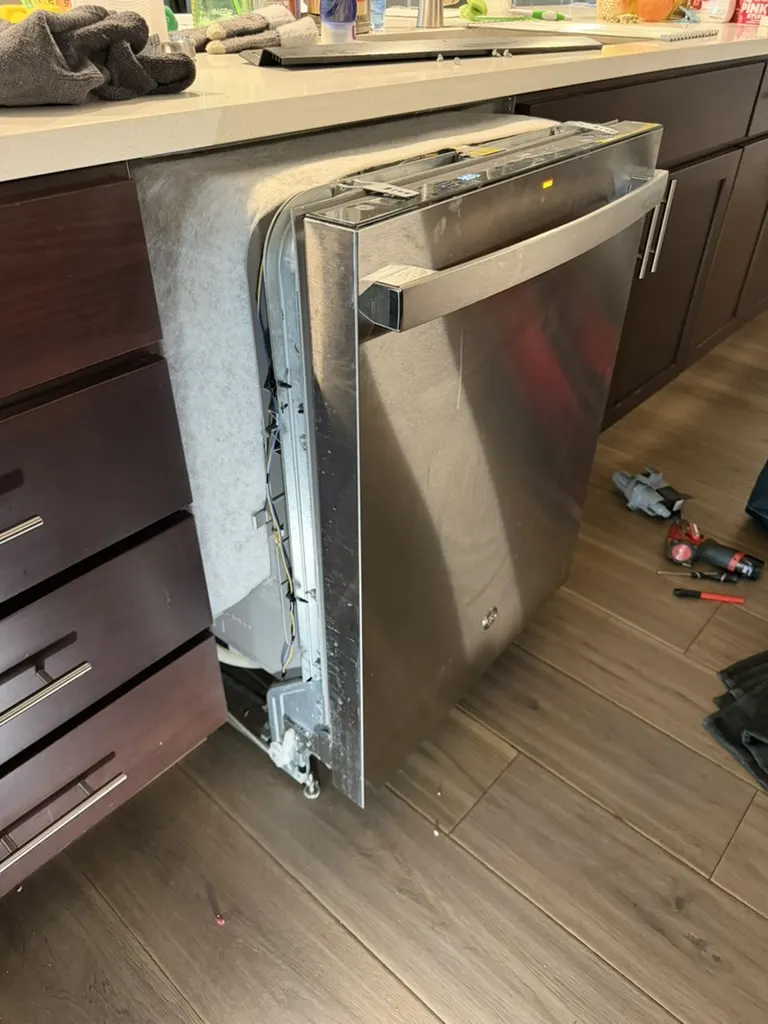
I recommend a suitable water-leak alarm beneath or near the dishwasher where its instructions permit installation. A small leak can travel under the appliance before you see it, damaging wood flooring, cabinet bases, or nearby furniture. If placing a detector underneath requires moving the dishwasher, have it positioned during professional service rather than pulling the appliance out just for that purpose.
A drain failure does not automatically cause an overflow: many machines stop, report a fault, or use water-level and flood-protection features. However, if water remains in the tub and the machine admits more because another protective component or fill control has also failed, overflow is possible. A stuck float is one potential issue on designs that use one. A damaged hose or badly seated pump seal can leak without any overfilling at all.
An alarm gives earlier notice; it does not repair the fault or necessarily shut off the water. Test it and maintain it according to its instructions. If it sounds, stop the appliance and address the leak rather than silencing the alarm and restarting the cycle.
When to call for service
If the disposal connection, filter, visible hose, and correct manual drain do not resolve the problem, the next step is a diagnosis of the complete drain system. The same applies if the problem returns, the pump grinds or only hums, the dishwasher stops mid-cycle, or any water reaches the floor.
You can call FixPro or use the short online service request without performing these checks first. A remembered error code, a recent disposal replacement, or the observation that manual draining works can help, but none is required. We can identify the appliance, check the installation and components, and explain the repair needed before you commit to replacing parts.
