
Quick answer
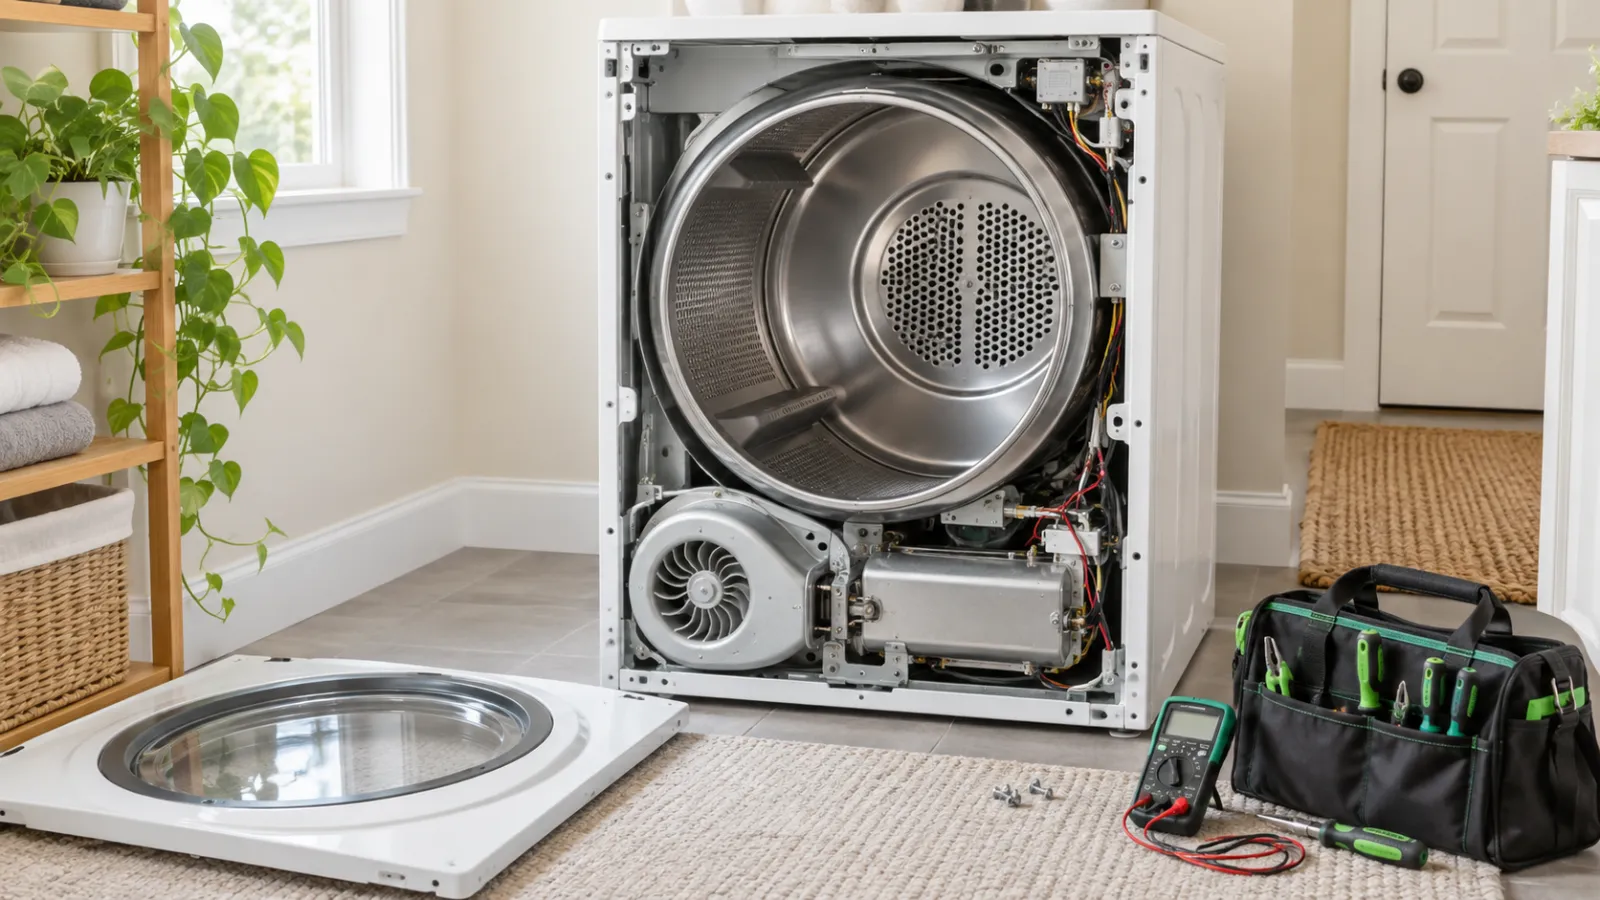
A dryer can run, turn the drum, and complete a cycle even when the heating side of the machine is not working. On an electric dryer, the motor and controls may still operate when one side of the 208/240-volt supply is interrupted. On a gas dryer, the drum can turn even if the burner never ignites. A no-heat complaint can also begin with a no-heat cycle setting, a closed gas supply valve, or restricted airflow that causes overheating protection to interrupt heat.
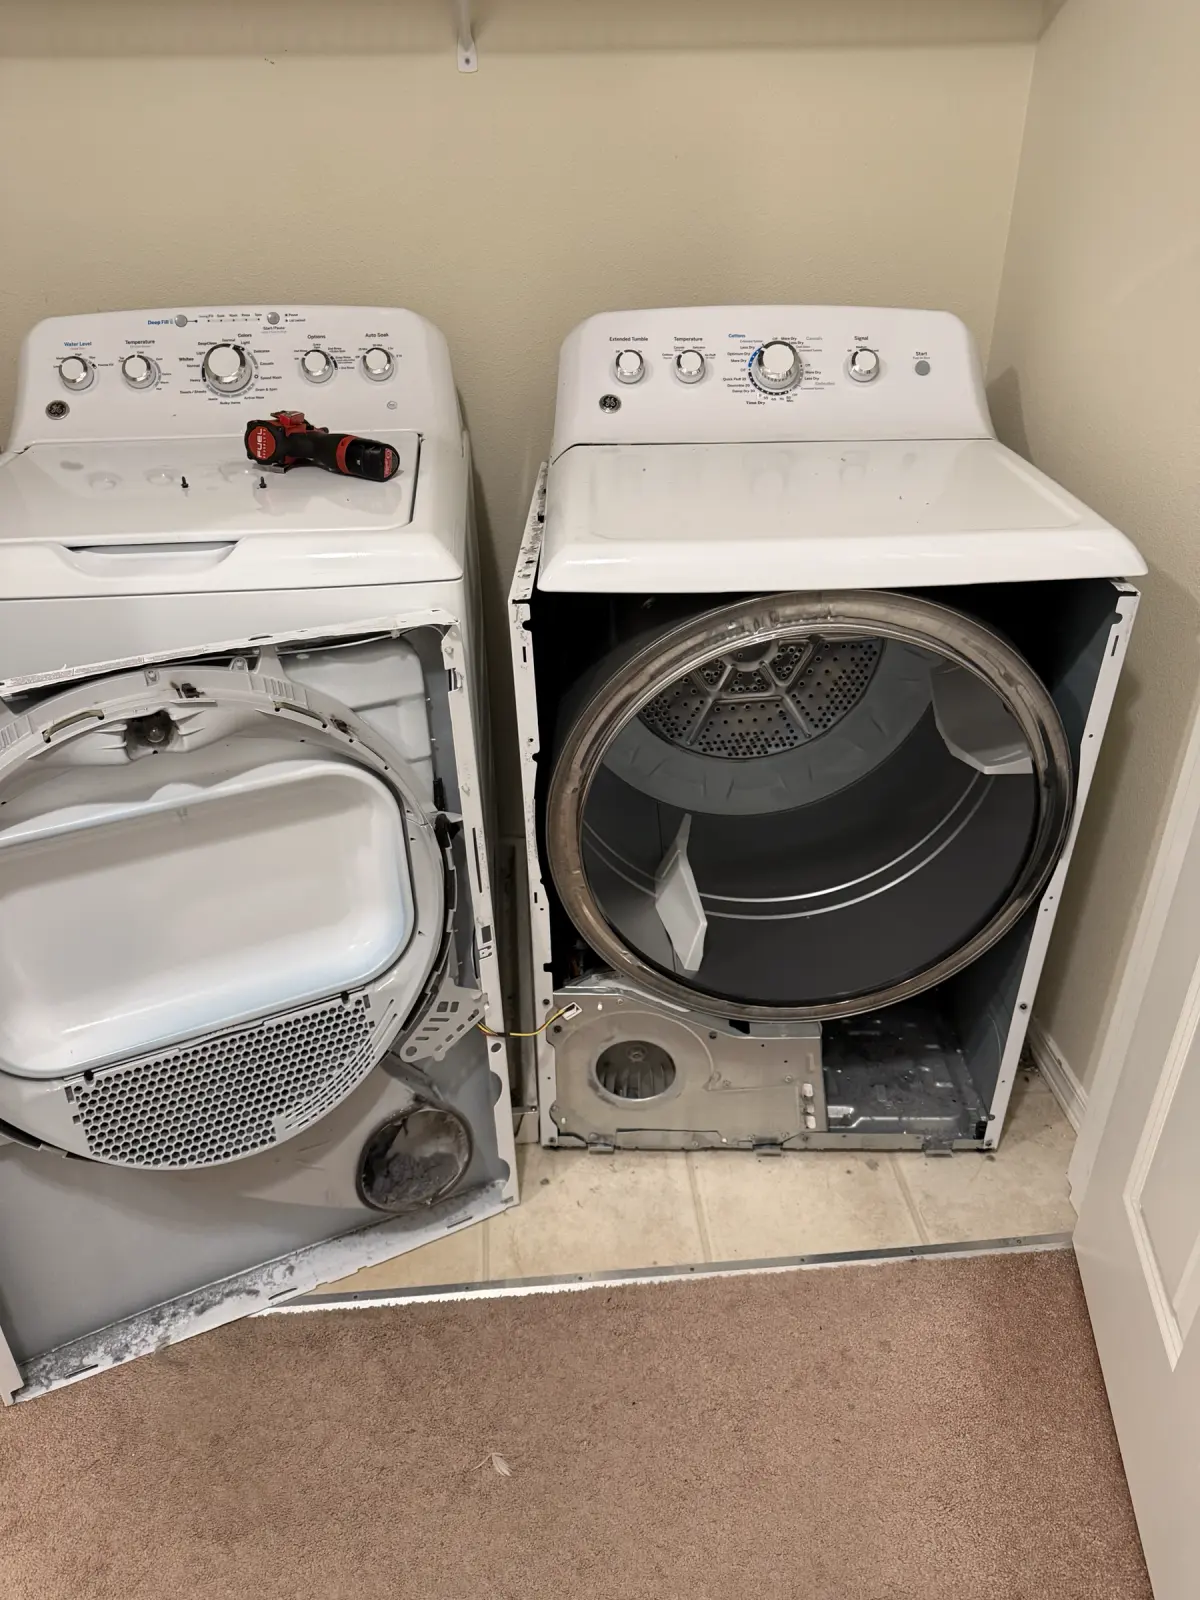
Start with observations that do not require opening the cabinet: confirm a heated cycle, check the breaker or visible gas-supply position, clean the lint screen, inspect the exhaust outlet, and note any error code, odor, unusual temperature, or change in cycle behavior. If the dryer still produces no heat, internal testing should be performed with the appliance disconnected from power and, where applicable, by a technician qualified to work on gas systems.
Stop immediately for gas odor, burning, or electrical damage
Do not continue troubleshooting if you smell gas, burning insulation, or scorched lint; see smoke or sparking; notice a melted plug, damaged cord, or discolored outlet; or find that the breaker trips again after being reset. Do not touch switches or use a phone inside a building where gas odor is present. Leave the area and contact the gas supplier or emergency services from a safe location.
Never bypass a thermal fuse, thermostat, door switch, or other safety device. Do not test live voltage unless you are trained and equipped to do so. Do not loosen a gas connector, burner fitting, or valve assembly as a homeowner troubleshooting step.
First confirm whether the dryer has no heat or simply dries too slowly
Those symptoms overlap, but they lead to different checks. An actual no-heat condition means the drum turns while the air and clothing remain close to room temperature during a heated portion of the cycle. Slow drying means the dryer produces heat, but moisture is not leaving the load efficiently.
With the lint screen clean and the drum empty, select a normal heated Timed Dry cycle rather than Air Fluff, Air Only, Wrinkle Release, or another no-heat option. Let the dryer run for about five minutes, then stop the cycle and open the door. Do not touch a metal heater housing or internal part. The air in the drum should feel clearly warmer than the room. Remember that many cycles include a cool-down period near the end, so checking only at the end can create a false no-heat impression.
If there is obvious heat but towels still require multiple cycles, focus on airflow, load size, washer spin performance, moisture-sensor behavior, and the exhaust route. If there is no noticeable heat during a confirmed heated cycle, continue with the power-source branch for your dryer.
Safe checks to make before opening the dryer
Record the result of each check. The pattern is more useful than replacing a part based on the symptom alone.
- Confirm that the selected cycle and temperature are supposed to add heat
- Clean the lint screen and reinstall it correctly
- Check whether the exterior exhaust hood opens and releases a strong stream of air
- Look behind the dryer for a crushed, sharply kinked, disconnected, plastic, or foil-like transition duct
- For an electric dryer, reset the complete two-pole dryer breaker once by switching it fully OFF and then ON
- For a gas dryer, visually confirm that the accessible shutoff handle appears open and parallel with the pipe
- Write down every display code or blinking-light pattern before resetting the machine
- Stop if the plug, cord, outlet, cabinet, or laundry shows overheating or burn damage
Electric dryer: the drum can turn with only part of the required power
A standard electric dryer normally needs a dedicated 208/240-volt supply. Its motor and controls can operate on one side of that supply while the heating element lacks the full voltage it needs. That is why an electric dryer may look normal, sound normal, and tumble normally without heating.
At the electrical panel, identify the dryer’s paired or two-pole breaker. With dry hands and without removing the panel cover, move the entire breaker firmly to OFF and then back to ON once. A partially tripped breaker may not look obviously different from an energized breaker. If it will not remain on, trips again, or the dryer has never heated since installation or relocation, stop. The circuit, receptacle, cord connection, or installation should be inspected by a qualified electrician or technician.
Do not remove the dryer’s terminal-block cover while it is connected to power. Burned or loose power connections can create shock and fire hazards and usually require correction beyond replacing a heating part.
Gas dryer: confirm the supply without disturbing the gas connection
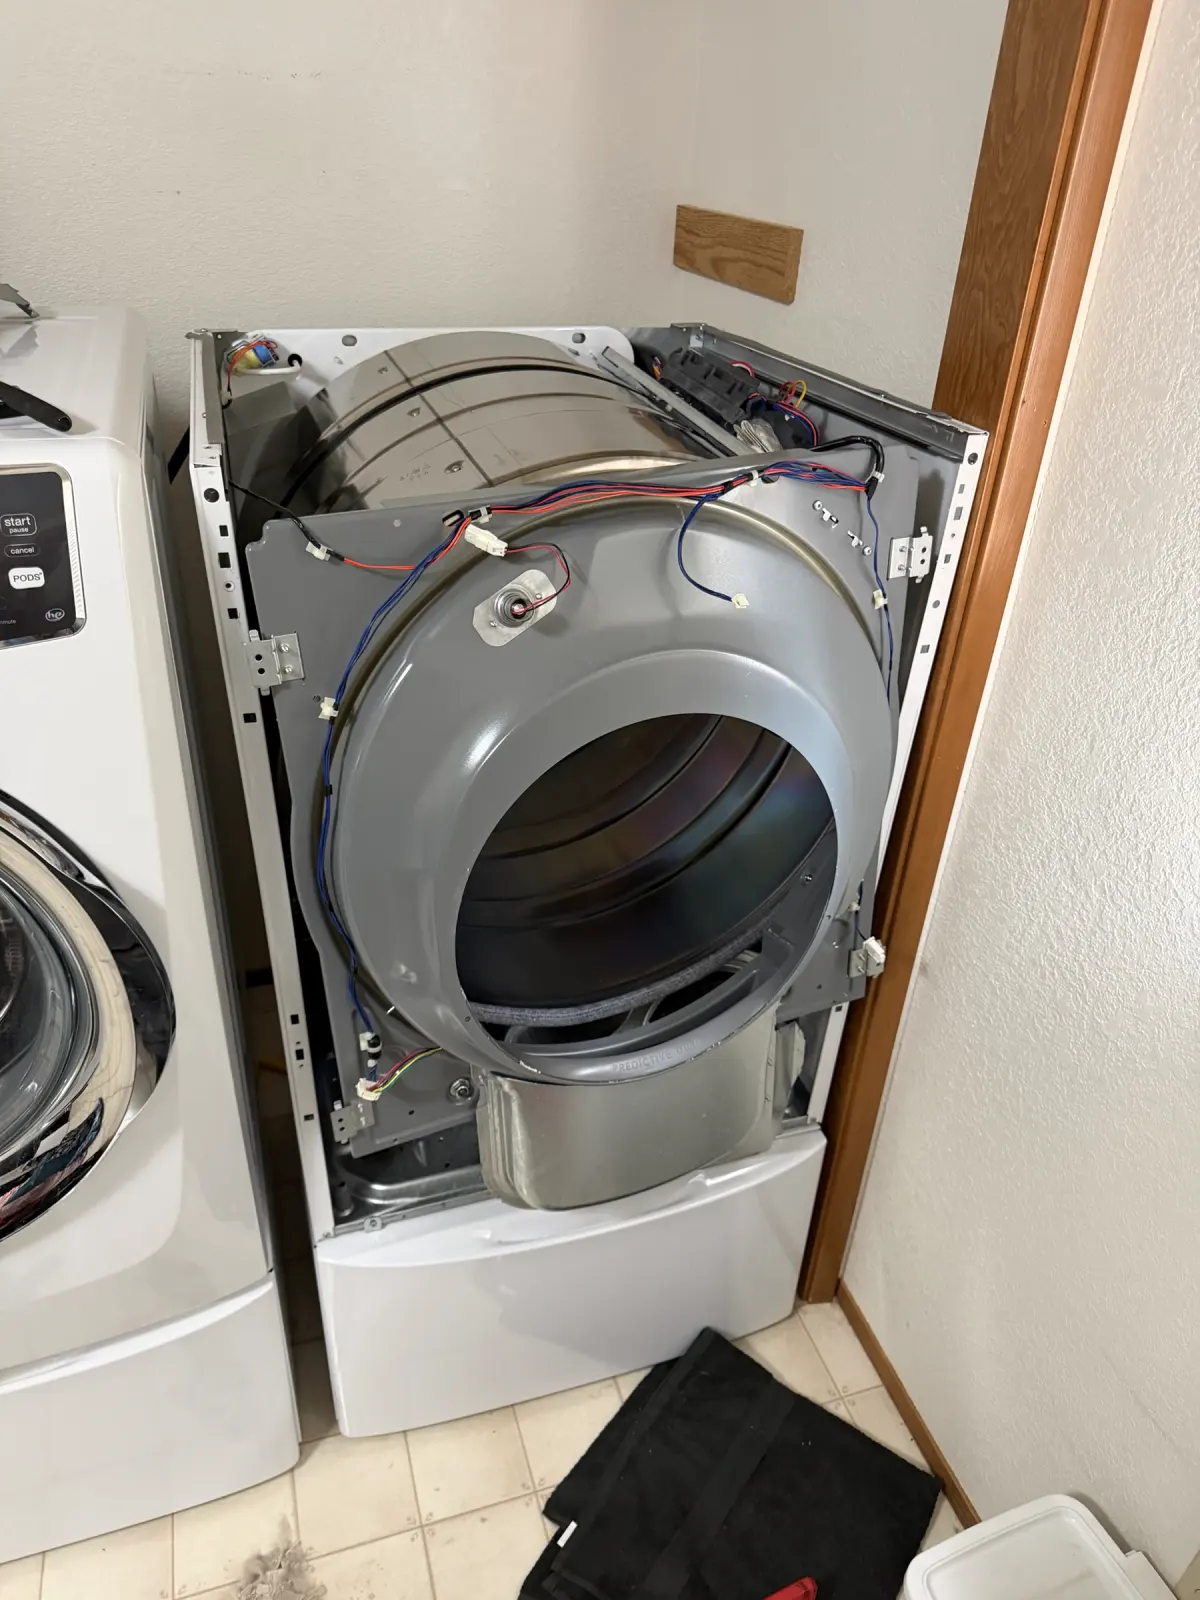
A gas dryer uses electricity for the motor, controls, and ignition system, but its heat comes from the burner. The drum can therefore run when the gas supply is closed or when the ignition sequence fails.
If there is no gas odor and the shutoff valve is readily visible, check only its position. A typical manual valve is open when the handle is parallel with the pipe. Do not force a stiff valve, loosen the connector, or attempt to purge air from the line. If the appliance was recently installed, converted between natural gas and propane, moved, or disconnected, use a qualified installer or gas technician.
Some gas dryers ignite shortly after a heated cycle starts; others cycle the flame on and off as temperature changes. Repeated clicking, an igniter that glows without flame, heat that appears only at the beginning of a cycle, or a burner that lights inconsistently can help a technician distinguish among an igniter, flame sensor, gas-valve coil, airflow, and control problem.
Airflow matters even when the complaint is “no heat”
A dryer does not just make heat. It must move a controlled stream of air through the drum, lint screen, blower housing, transition duct, in-wall or under-floor duct, and exterior hood. A restriction traps heat and moisture inside the system. Drying time increases, temperatures become uneven, and protective devices may interrupt the heat source. Continued overheating can damage components and increase fire risk.
Clean the lint screen before every load. If the screen has a film from fabric-softener products, follow the appliance manual’s cleaning instructions and allow it to dry completely before reinstalling it. Inspect the visible transition duct without crushing or disconnecting it. Outside, check that the hood is not blocked by lint, a nest, vegetation, snow, or a stuck damper. During a heated cycle, the airflow should be steady rather than weak or intermittent.
The entire duct length matters, not only the first few feet. Long runs, multiple elbows, hidden sagging sections, and an obstructed roof or wall termination can restrict a system that looks clear behind the dryer. Use metal venting that meets the model’s installation instructions. Never operate a gas dryer with the exhaust disconnected; combustion products, including carbon monoxide, must be vented outdoors.
A blown thermal fuse is a diagnosis clue, not the complete diagnosis
A thermal fuse is a one-time safety device. Depending on the dryer design, an open fuse may stop the motor, stop the heat, or interrupt another part of the operating circuit. It cannot be reset and must never be bypassed.
More importantly, a failed fuse may be the result of restricted airflow, a shorted heater, a control that keeps the heat on, incorrect venting, or another overheating condition. Replacing only the fuse without finding why temperature exceeded the safe limit can lead to another failure and leave the underlying hazard in place. A correct repair verifies the exhaust path and the heating system before the dryer is returned to service.
Common internal causes in an electric dryer
The exact circuit varies by model. These components should be tested against the wiring diagram and service information rather than replaced because they appear on a generic list.
- Heating element: a broken coil may create a complete no-heat condition; a coil touching its housing can also cause abnormal heating behavior
- Thermal fuse or thermal cutoff: an open safety device interrupts its assigned circuit and requires investigation of the overheating cause
- High-limit thermostat: protects against excessive temperature and may open incorrectly or respond to an airflow problem
- Cycling thermostat or thermistor: reports or controls temperature; incorrect readings can shorten, interrupt, or prevent heat
- Heater relay, timer contact, or electronic control: may fail to deliver power to the heater even when the motor circuit runs
- Wiring and terminal connections: loose, burned, or broken conductors can interrupt heat and create a serious safety hazard
- Motor centrifugal switch on applicable designs: may prevent heater operation if the heat-contact portion does not close
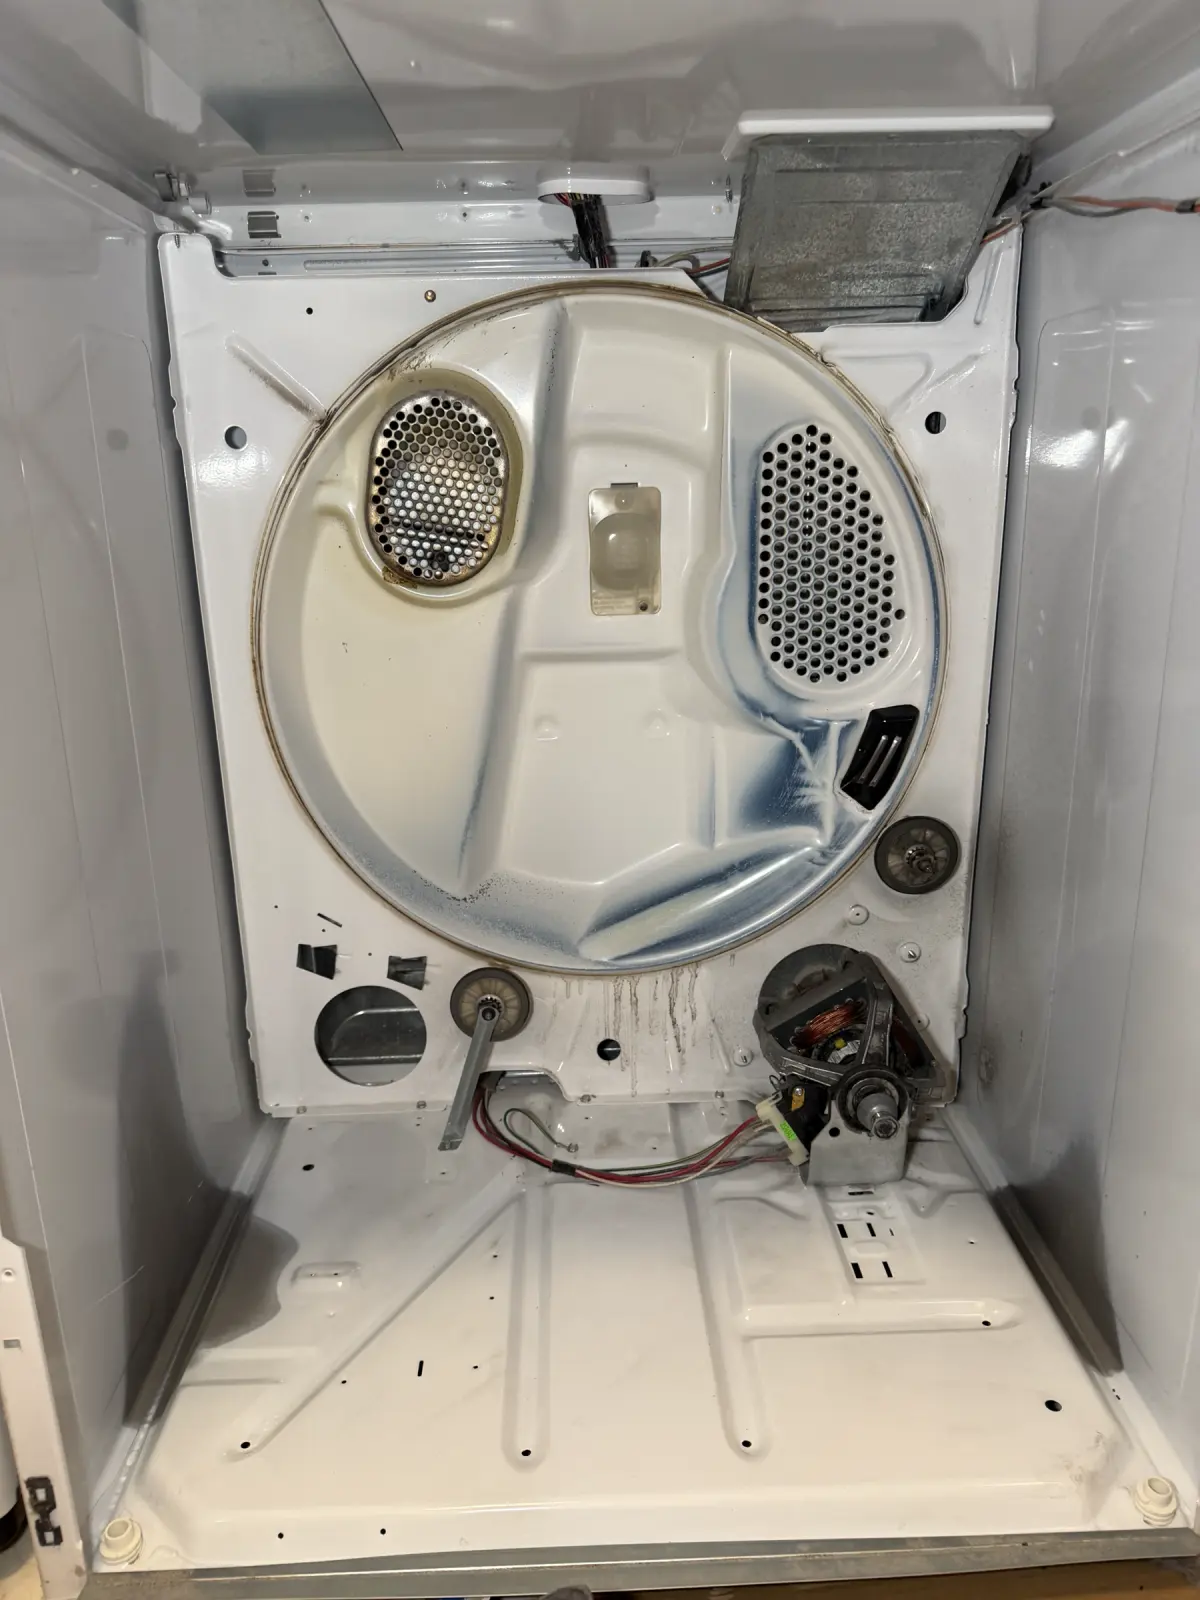
Common internal causes in a gas dryer
Gas-dryer diagnosis requires observing the ignition sequence safely and confirming electrical and airflow conditions before condemning a gas component.
- Igniter: may be electrically open, cracked, weak, or unable to draw the current required for the valve circuit
- Flame sensor or radiant sensor: may fail to report the correct burner condition during ignition
- Gas-valve coils: can open the valve when cold and fail after warming, causing heat for only the first part of a cycle
- Thermal fuse, thermostat, or thermistor: may interrupt the burner circuit or signal an incorrect temperature condition
- Control relay, timer contact, or wiring: may prevent the ignition system from receiving the correct supply
- Restricted burner airflow or exhaust: can create unstable ignition, overheating, cycling, or safety shutdown behavior
How a technician narrows down the fault
A useful diagnosis begins with the symptom and model number, not a parts order. The technician confirms whether the drum runs, whether any heat is produced, whether the problem changes during the cycle, and whether the unit is electric, natural gas, or propane. The model-specific wiring diagram determines which safety devices and controls are in series with the heat source.
For an electric dryer, testing may include confirming the correct supply across the full circuit, inspecting the terminal connection, measuring continuity and resistance with power disconnected, checking heater isolation from the cabinet, and verifying that thermostats, relays, timer contacts, and motor-switch contacts operate as designed. Live-voltage tests are sometimes required, but they are not a homeowner procedure.
For a gas dryer, the technician observes the ignition sequence and tests the igniter, sensor, valve-coil circuit, temperature controls, and airflow while following gas-safety procedures. In both types, the repair is incomplete until the root cause is addressed and the dryer heats, cycles, vents, and shuts down normally.
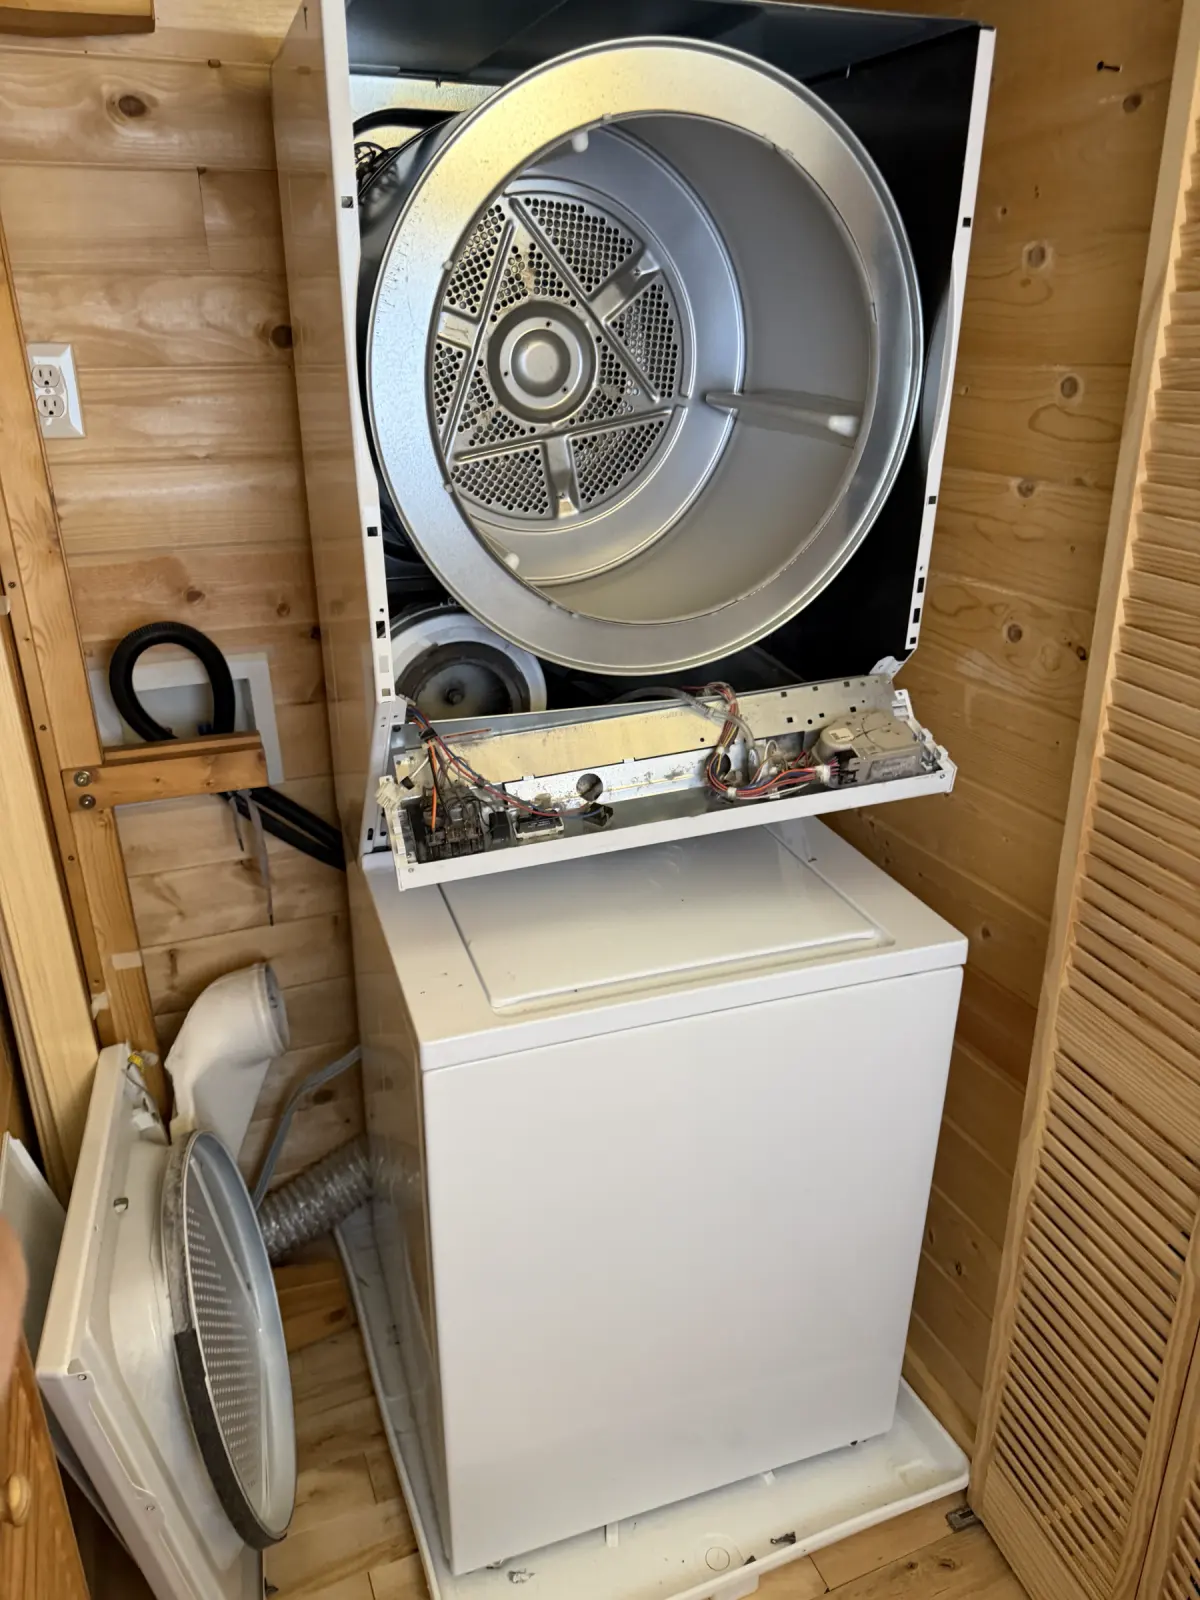
What changes when the dryer is stacked
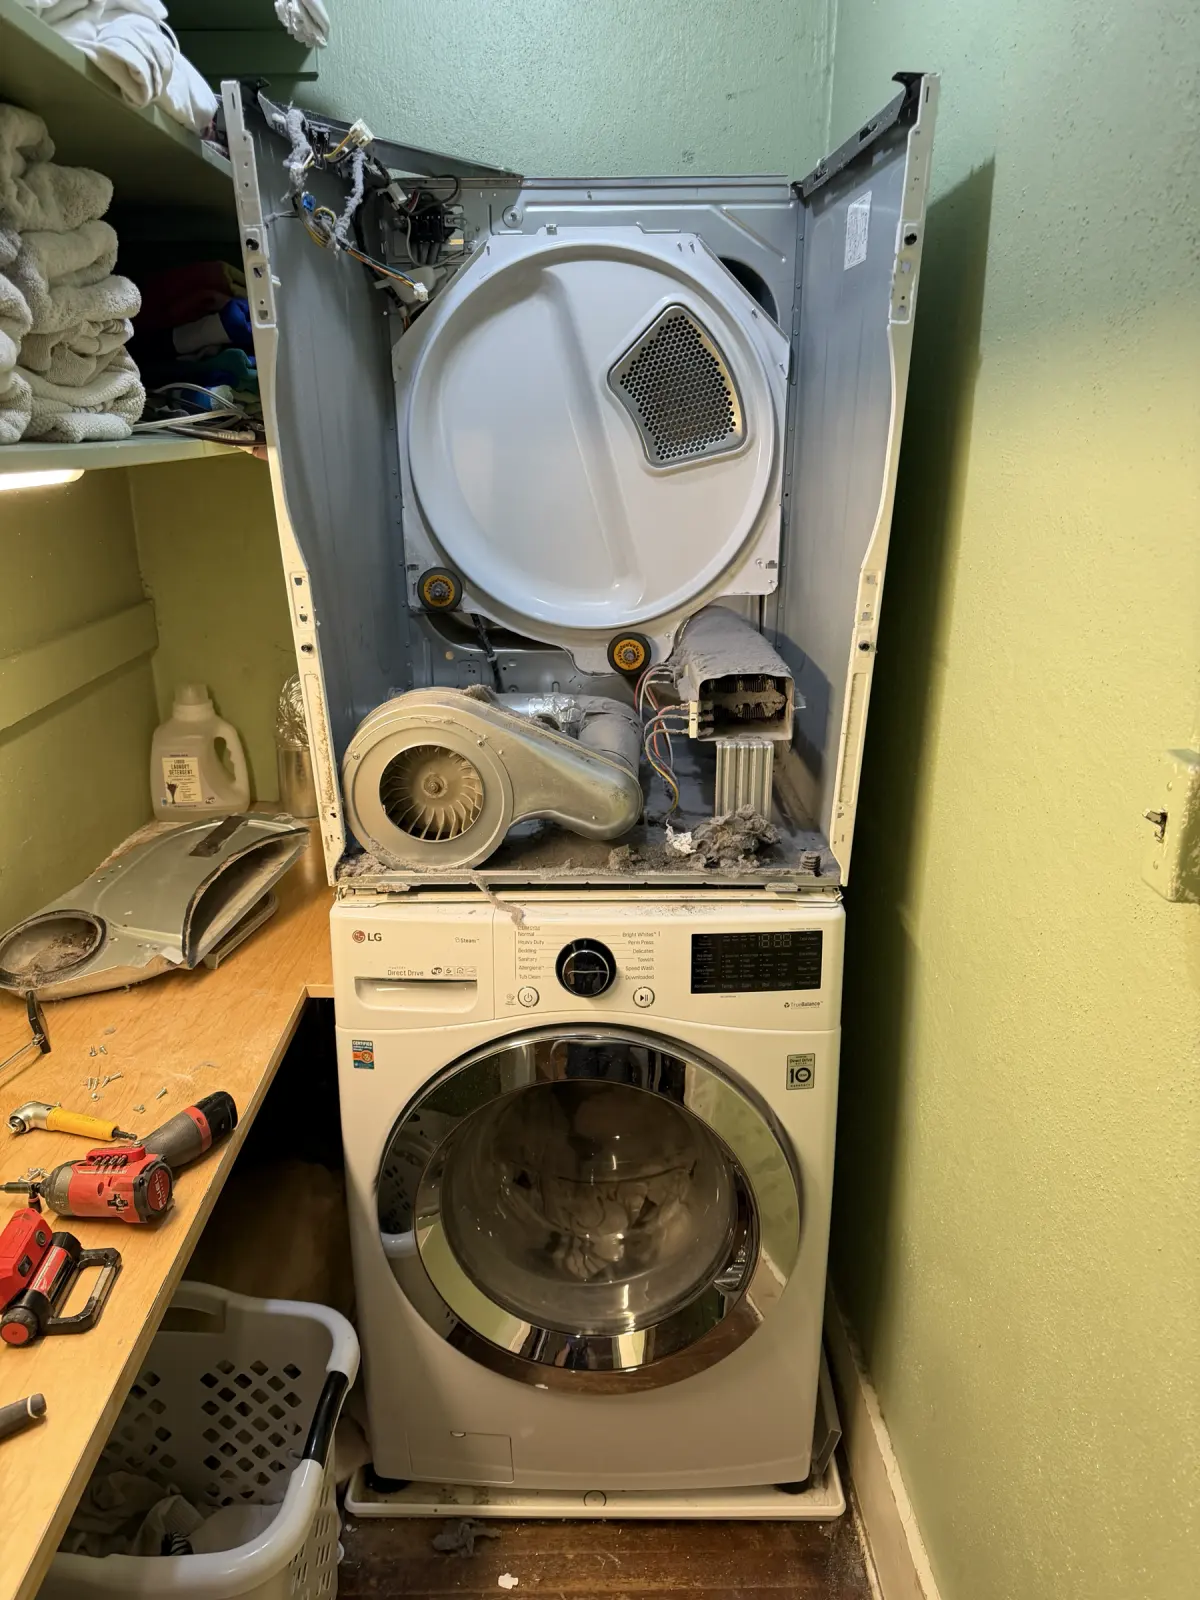
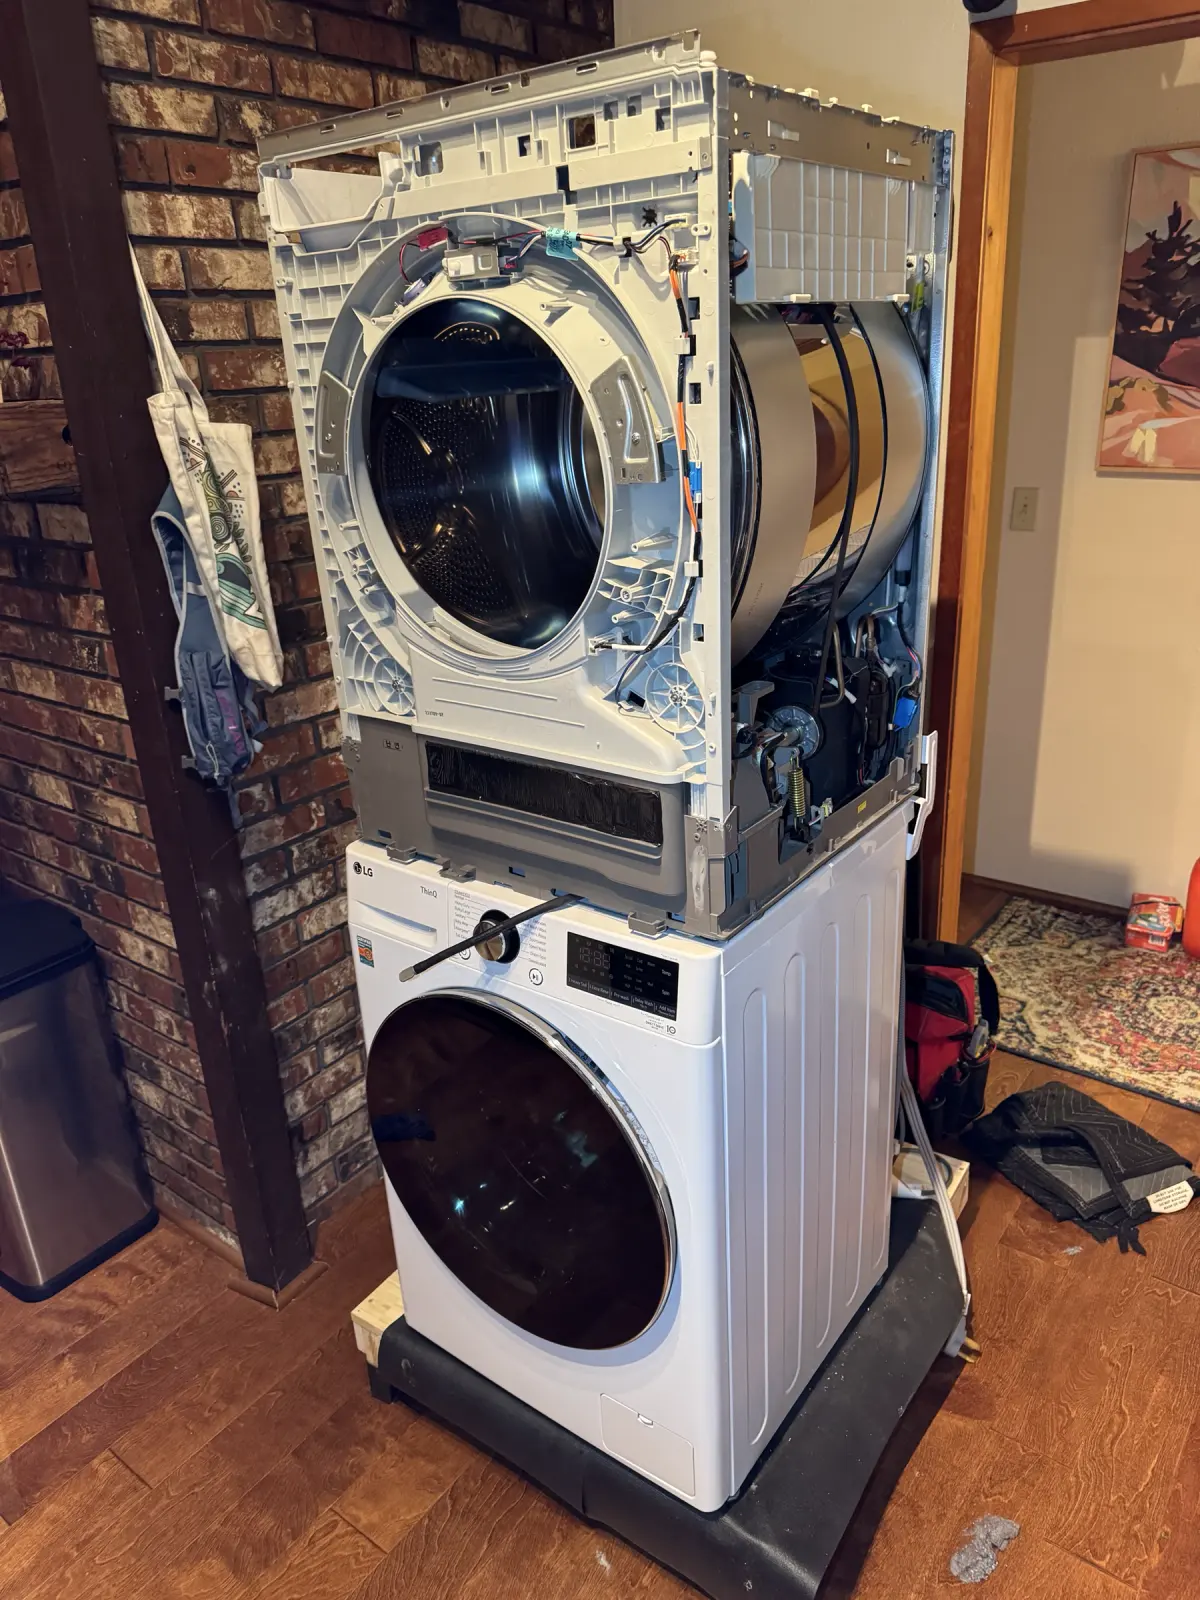
A stacked installation does not change the basic no-heat logic: the technician still verifies the cycle, power or gas supply, airflow, safety devices, heat source, and control circuit. It does change access. The dryer may need to be secured, unstacked, or serviced in place with model-specific procedures before the cabinet, drum, burner, heater, or blower can be reached safely.
Do not try to pull down or separate a stacked pair alone. The upper appliance is heavy, its center of gravity changes as panels are removed, and the stacking hardware must be reinstalled correctly. Record both model numbers and send a clear photograph of the installation before service so the technician can plan access and bring the correct equipment.
Error codes and resets: record the evidence first
Modern dryers may report power-supply, vent restriction, temperature-sensor, overheating, or communication errors. The same letters can mean different things on different brands and models, so use the owner’s manual or the manufacturer’s model-specific support page. Photograph the display and write down when the code appeared.
A power cycle can clear a temporary control fault, but it does not repair a blocked vent, damaged heater, failed sensor, loose electrical connection, or gas ignition problem. Repeatedly resetting a dryer can erase useful diagnostic history. If a code returns after the manufacturer’s safe checks, leave it recorded for the technician instead of continually clearing it.
When to schedule repair instead of continuing DIY checks
Schedule professional diagnosis when the supply and cycle are correct, the lint screen and accessible exhaust points are clear, and the dryer still produces no heat. Service is also appropriate when heat starts and stops unpredictably, a breaker trips, an error returns, the cabinet becomes unusually hot, the plug or cord shows damage, or a gas burner does not operate normally.
Age alone does not decide whether a dryer is worth repairing. Consider the confirmed failed part, the condition of the drum supports, belt, motor, controls, cabinet and venting, the availability of model-specific parts, energy use, and the cost of a comparable replacement. Diagnosis comes before that decision. Replacing several guessed parts is often more expensive than identifying the failed circuit first.
Information that makes the service visit more efficient
Collect what you can without opening the appliance. These details help reproduce an intermittent problem and bring the correct technical information to the visit.
- Full model and serial number from the rating label
- Whether the dryer is electric, natural gas, propane, or ventless
- The exact cycle, temperature, and dryness settings used when the problem occurs
- Whether there is no heat at all, weak heat, or heat only at the beginning of the cycle
- Any error code, blinking-light pattern, unusual sound, smell, or breaker behavior
- Whether the appliance was recently installed, moved, converted, or had the vent changed
- Approximate vent length, termination location, and any known cleaning history
- Clear photographs of the rating label, display code, plug or cord damage, and accessible vent condition
Can an electric dryer spin if the breaker is partially tripped?
Yes. Many electric dryers can power the motor and controls from one side of the supply while the heating element lacks the complete 208/240-volt circuit. Reset the full two-pole breaker once. If the problem returns, the breaker will not reset, or there is heat damage at the cord or outlet, stop and have the circuit and dryer connection inspected.
Can a clogged vent cause a dryer to stop heating?
Yes. Restricted airflow can trap heat, extend drying time, and cause temperature controls or safety devices to interrupt the heating system. A vent problem may therefore feel like weak heat, intermittent heat, overheating, or no heat. The full exhaust route to the outdoors must be evaluated, not only the lint screen.
Why does a gas dryer heat at first and then turn cold?
That pattern can occur when gas-valve coils operate while cold and fail after warming, but it can also result from airflow, sensor, thermostat, wiring, or control problems. The burner sequence and model-specific circuit need to be tested before a part is selected.
Is it safe to keep using a dryer that tumbles without heat?
Do not assume that a cold drum makes continued operation harmless. A partial electrical fault, damaged connection, restricted vent, or failed safety circuit can still present risk. Stop using the dryer for any gas odor, burning smell, scorching, sparking, repeated breaker trip, unusual cabinet heat, or damaged cord. If the safe external checks do not restore normal operation, arrange diagnosis before regular use.
